Know your camera
All photography is easier if you can use your camera’s knobs and menus instinctively.
Lens choice
For portaits, never less than 50mm if possible (prime or zoom). Wide angle lenses can distort facial features.
My personal settings
Shoot in RAW
Aperture Priority (as depth of field is a wonderful artistic tool to enhance your images)
Shallow DOF softens the sharpness of the background, helping remove distracting elements and creating an engaging portrait. (F2.8, F3.5, etc – stop down aperture if a group of people, e.g. F8. A tripod useful if shooting a crowd – allows you to wrangle the herd, and then press the button. Several times.
ISO Auto if your camera handles high ISO well – most recent cameras are great.
Watch your shutter speed ALL THE TIME when in Aperture Priority in case your subject moves (or your hand shakes!). Particularly when photographing children. Greater than 1/125s.
Use centre point of focus (aimed at eyes). Include a bit more than necessary in your composition and crop in post processing.
White Balance Auto or Daylight or use a Grey Card to set custom white balance (in camera or in post processing).
Other points to note
Soft smiles
Keep your image clean. Have a simple background. Watch for tree branches seeming to grow out of heads.
Watch for very bright spots in the background bokeh (sunlight shining through leaves etc) – move around for best angle of view. Or clone out bright spots in PP.
Choose ONE point of focus in your camera’s settings – and focus on an EYE (the one closest to camera if face on angle)
Location
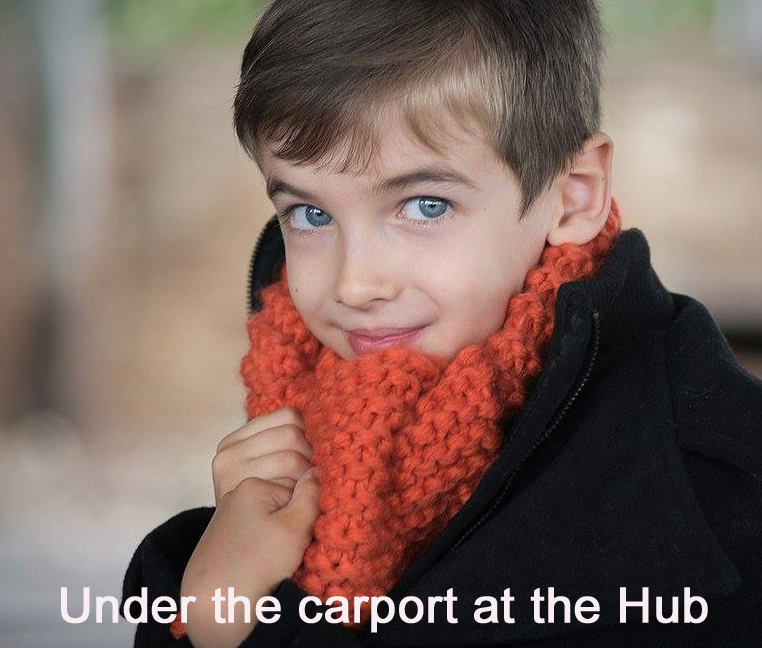
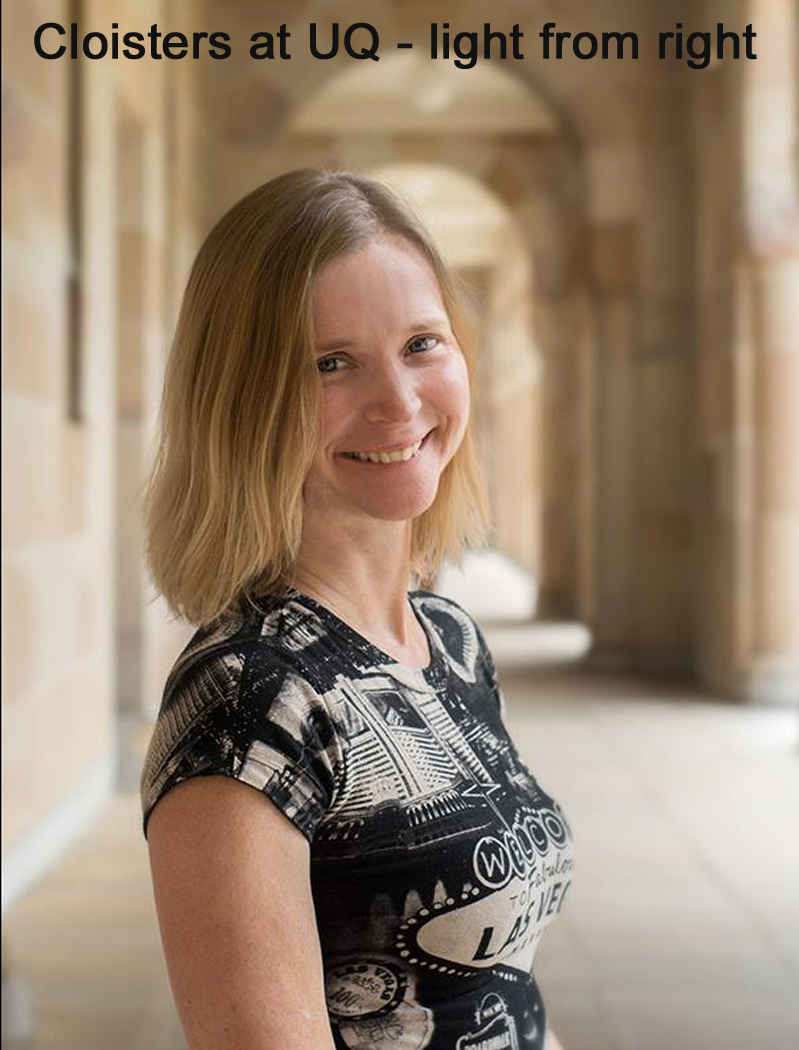
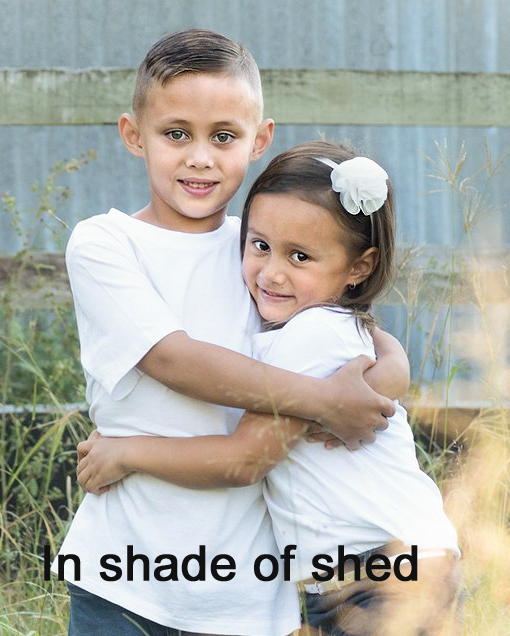
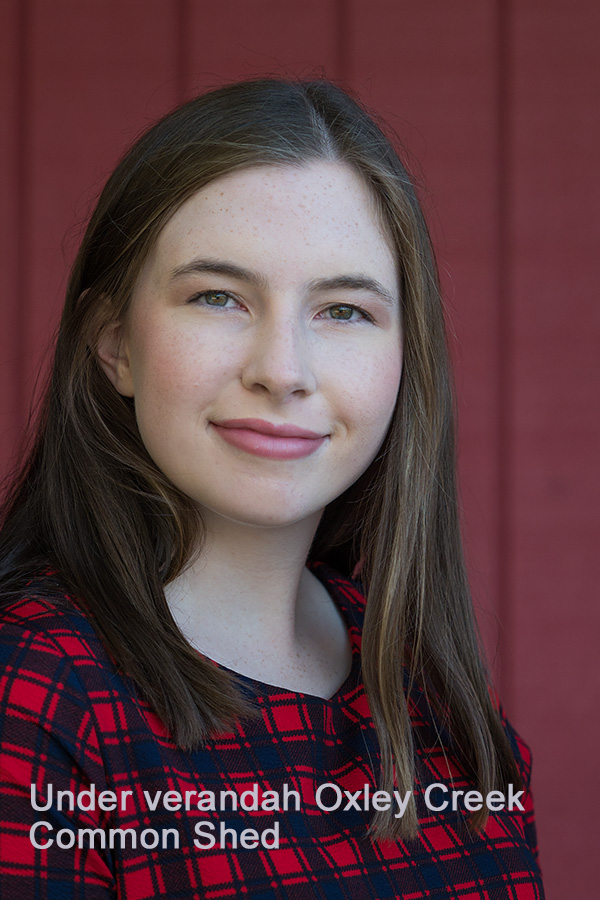
Shoot in the shade, or open shade - under trees or buildings; verandas and doorways are perfect. Place subject where background is free of clutter, away from plants or structures with busy designs.
Clouds are nature’s softbox
Outdoor Portrait Photographers LOVE overcast days! Cloud cover enriches colours and provides smooth shadows.
Avoid bright sunlight which throws severe shadows across a face and causes subjects to squint their eyes. If you must use bright sunlight, a commercial diffuser or scrim (and an assistant to hold it up high above the subject) can remove harshness from the light. Commercial reflectors can control direction of harsh light. Have subject look away from direction of sunlight, use reflector to bounce some light back. A white bedsheet, a white wall, even a white truck or large piece of card can also be a reflector.